Back in 2005, when I hosted the panel “Beyond Photocopies: cost-effective color enhancements for your comics” at the Small Press and Alternative Comics Expo, I shared and demonstrated the technique I used to add color to my covers: a simple stencil method. Unfortunately, since I was busy demoing at the time, I wasn’t able to get photos of it, but a few years ago I documented the process when I used it for one of my holiday pieces…

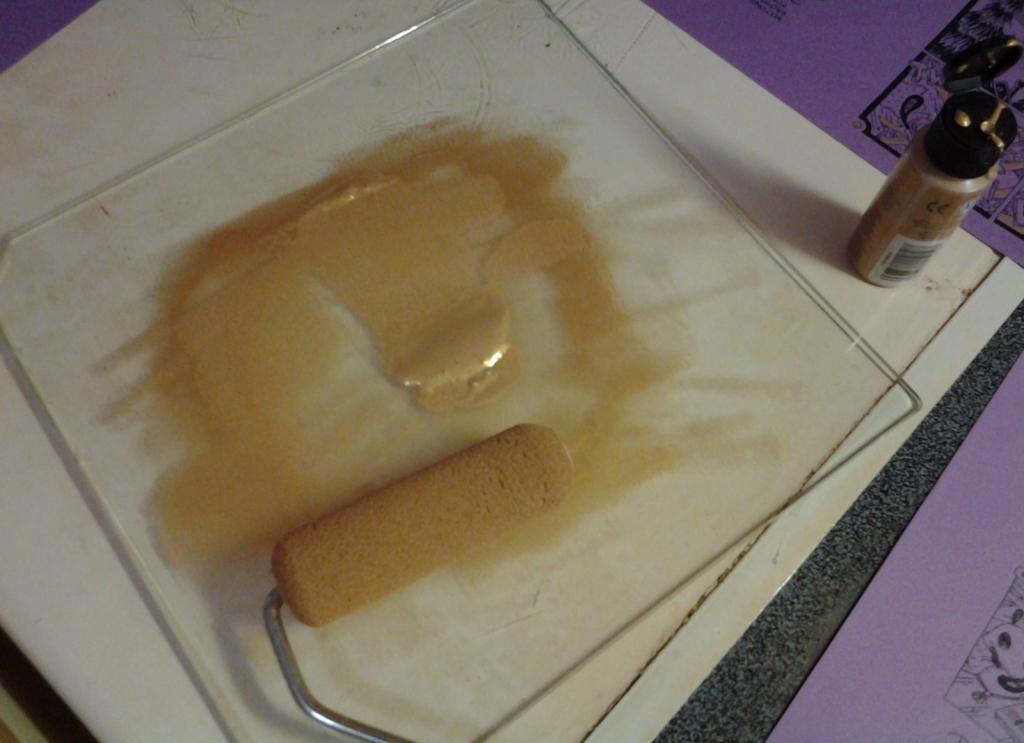
For this one, I used a metallic gold on purple, which looked nice in reality, but didn’t always photograph so well. This technique doesn’t require many supplies: blank stencil material, a sharp X-Acto blade, the paint(s– while I only use one color here, it works well for multiple colors, too. Just cut a different stencil for each color, of course), a roller (I got mine at my local hardware store; it’s wider and holds up better than cheap craft store foam rollers), and a surface to mix paint on (I use a piece of double-strength glass). The paint I prefer is Plaid’s Apple Barrel craft paints (it comes in a wide variety of pre-mixed colors, covers smoothly, and doesn’t bleed through even 20# bond. Some colors are less transparent than others, so testing how fully it covers the linework on my photocopied art became a useful step; I wanted to be able to see the artwork through the color).

After I print all the copies I want to stencil, I also print a plain black and white copy. I shade in the areas I want colored to use as a guide. Laying the transparent stencil material over it, I carefully cut out the areas that are to be colored.

In this case, since the area I was coloring stretched nearly the full width of the material, I added some additional material to give me extra protection to keep my work surface clean. When I was just stenciling a single digest cover (8 1/2 x 5 1/2″), the stencil material was plenty big to serve that purpose.

I spread my paint out on my mixing surface, getting a good coat on the roller.

I worked through my stack of printed originals, placing the stencil carefully over the artwork by lining up the open areas in my stencil with the areas to be colored. Sometimes I would need to re-“ink” my roller, especially when I had large areas to cover. The paint isn’t so liquid that it saturates the roller, and I want to get a good coverage before I remove the stencil.

A final practical tip: Be sure to give yourself plenty of space to lay out your freshly-stenciled copies. While they dry pretty fast, you can’t just stack them as you go!

And that’s all there is to it. If I didn’t explain something well enough, just ask in the comments section below and I’ll try to clarify.
Hope you all have a happy holiday season and a creative 2016!
I wondered how you did this– thanks for the explanation!
LikeLike
Glad you liked it– I later applied this method to paintings on panels, including “How Green is My Garden” … which a lot of people might recognize.from Davenport’s Gewurztraminer label!
LikeLike